
7 Fixes to Keep Hair Extensions From Slipping Out
· Editorial Team

Last Updated: November 13, 2026
Quick Summary
Hair extensions usually slip because the natural hair they attach to has nothing to grip, so start with clean, completely dry hair and a light texture spray or root powder at the roots. Keep conditioner and oils away from the root zone, use the right attachment for your hair type, and check clips and beads weekly for looseness.
- Wash with a clarifying shampoo and dry roots completely before installing.
- Keep conditioner and heavy oils off the first few inches near the roots.
- Use lighter, narrower wefts and avoid stacking two wefts on one root section.
- Clips slipping after about two weeks often means buildup or new growth; clarify and recheck.
- See a stylist if attachments feel loose, beads shift, or your natural hair is tugged or damaged.
Table of Contents
- Why Hair Extensions Slip Out in the First Place
- Prep Your Natural Hair Before Installing Extensions
- How to Put In Clip-In Extensions for Thin Hair Without Slipping
- Why Are My Micro Bead Hair Extensions Falling Out?
- Why Hair Extensions Fall Out After 2 Weeks and What to Do
- Troubleshooting Slipping by Symptom and Timing
- Your Maintenance Checklist and When to See a Stylist
- Frequently Asked Questions
Hair extensions slip out for a few predictable reasons, and most of them are fixable. If you want to know how to keep hair extensions from slipping out, start with the basics: clean hair, the right attachment for your extension type, and a little texture for grip. This guide walks you through holding your extensions in place from the first install to the last day you wear them.
Extensions are a meaningful investment, so a slip at the wrong moment is frustrating. The good news is that most slipping comes from a small number of causes you can control.
Why Hair Extensions Slip Out in the First Place
Extensions slip when the hair they clip or bond to has nothing to grip. Fine, silky, or heavily conditioned hair gives extensions very little to hold onto. Natural oils and product buildup make the problem worse.
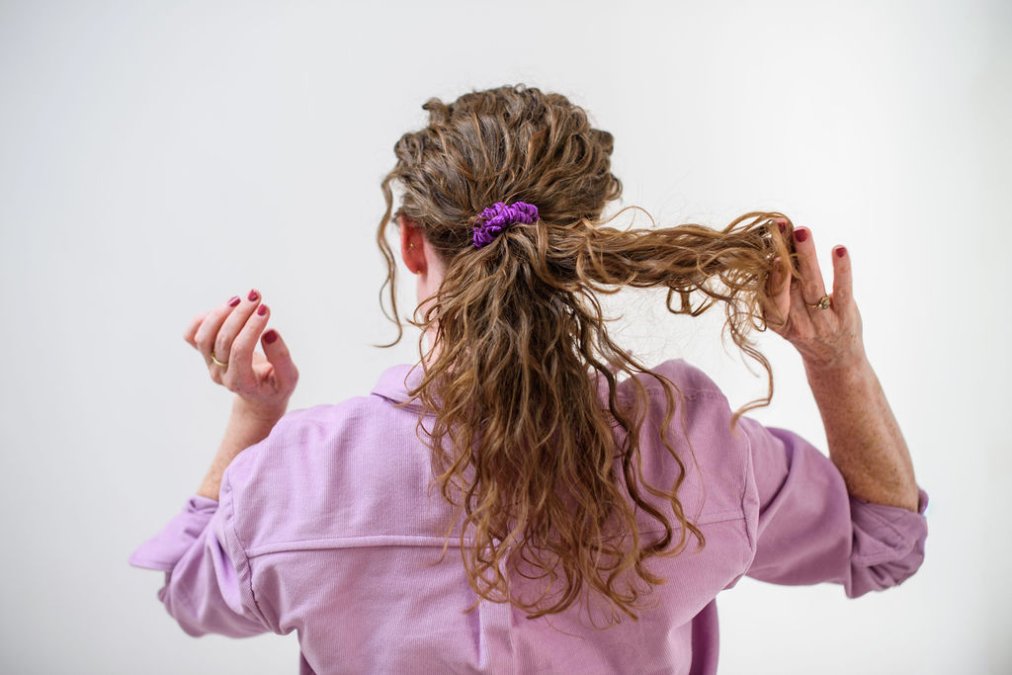
Common causes include:
- Oil and conditioner near the roots, which make the attachment slick
- Clean, freshly washed hair that is too smooth, with no texture for grip
- Wrong attachment for your hair type, such as heavy clips on very fine hair
- Loose or uneven sectioning, which puts weight on the wrong spots
- Vigorous activity, like workouts or sleeping on a rough pillow
A common mistake is blaming the extension itself. In most cases the problem is preparation or placement.
Prep Your Natural Hair Before Installing Extensions
Good prep is the single biggest step you can take. Start with clean, dry hair. Wash with a clarifying or cleansing shampoo to remove oils and buildup, then dry your hair completely before you attach anything.
Keep these habits in mind:
- Avoid conditioner and heavy oils within a few inches of the roots
- Use a dry texture spray or root powder for added grip
- Section your hair neatly so each attachment has a secure base
- Check that your hair is fully dry, because damp roots slip easily
Watch out: applying a heavy product right before install can undo all your prep work. Let your texture spray dry first.
How to Put In Clip-In Extensions for Thin Hair Without Slipping
Thin hair fails at the clip for a mechanical reason: each clip needs a dense enough base of natural hair to bite into, and fine hair spreads that same weight over fewer strands. The fix is not more clips, it is better sectioning, lighter wefts, and a base that gives the clip something to grip.
Start with clean, completely dry hair. Apply a light texture spray or root powder to the section you are about to clip, then let it dry for about a minute so the grit sets rather than staying tacky. Part your hair horizontally where the first weft will sit, usually about an inch above the ear on the sides and slightly lower at the back.
Use this sequence for each clip:
- Take a section roughly the width of the clip and no thicker than a quarter inch at the root. Thicker sections push the clip open and it releases.
- Tease the root of that section lightly with a fine-tooth comb, three or four short back-combs is enough. This creates a cushion the clip can compress against.
- Open the clip, slide it in close to the scalp, and press until you feel the teeth close on hair rather than air.
- Gently tug the weft downward. If it shifts more than a fraction of an inch, reopen and take a slightly smaller section.
- Space clips so no single clip carries more than its share of the weft. On fine hair, choose lighter or narrower wefts over fewer, heavier ones.
For very fine or low-density hair, place clips slightly farther from the hairline and avoid stacking two wefts on the same root section. Stacking concentrates weight and causes the clip to slide. If a clip keeps releasing on the same spot, the section is too large or too slick, clarify that area and re-section rather than adding a second clip.
Watch out: clipping into wet or heavily conditioned roots feels secure for an hour and then slides, because the hair shaft is smooth and the clip has nothing to compress.
On fine hair, clip-in slippage is often a placement problem rather than a product problem. Check the base before you blame the weft. For gentle ties that grip without denting, read non denting hair ties for curls.
Why Are My Micro Bead Hair Extensions Falling Out?
Micro bead extensions depend on a tight, even grip at the bead. When they fall out, the usual culprits are a loose bead, hair that is too slippery, or a bead placed too far from the scalp.
If your micro beads keep slipping, check these points:
- Make sure each bead is clamped tightly, with no gap
- Confirm that the natural hair inside the bead is clean and dry
- Avoid heavy conditioners or oils near the beads
- Ask a stylist to reposition loose beads rather than forcing them
Micro beads may need professional adjustment as they settle. A stylist can re-tighten or move beads so they hold.
Why Hair Extensions Fall Out After 2 Weeks and What to Do
Two weeks is a diagnostic marker, not a random failure. By then, three things have changed since install: natural oils and conditioner residue have accumulated at the root, your natural hair has grown slightly so the attachment sits lower, and the attachment itself has been stressed by washing, brushing, and sleeping. Which of those is driving the slip depends on how and when it fails.
Use timing to narrow the cause:
- Loose within a day or two of install: preparation or placement. Roots were slick, sections were too large, or the attachment was never tight. Fix the base before adding product.
- Loose after the first wash: water and conditioner reached the root. Clarify, keep conditioner off the first few inches, and dry completely before re-securing.
- Loose around two weeks with gradual drift: buildup plus new growth. This is the most common pattern and usually calls for a clarify, a root-product reset, and a professional check.
- Sudden release of one attachment: a bent clip, a slipped bead, or a tape bond that lifted at an edge. Inspect that attachment specifically rather than treating the whole head.
What to do at the two-week mark:
- Wash with a clarifying shampoo, then dry the roots completely.
- Keep conditioner and oils off the root zone for the next few days.
- Brush from the ends upward and stop when you feel resistance near an attachment.
- Check each clip, bead, or tape edge by feel. Loose ones should be corrected, not forced.
Safety matters more than a quick fix. Stop and remove the attachment, or see a qualified stylist, if you notice pain, excessive tension at the root, matting around the attachment, or breakage when you brush. Those signs mean the attachment is pulling rather than holding, and continuing to wear it can damage the natural hair. A slipping attachment that has shifted position usually needs professional correction, since re-clamping a bead or re-taping a bond at home can make the grip worse.
A scheduled check around the two-week mark can catch loose attachments before they fail completely. Treat the slip as a signal to inspect and adjust, not as a reason to add more product.
Troubleshooting Slipping by Symptom and Timing
Match the symptom to the likely cause so you can act quickly.
| Symptom | Likely cause | Fix |
|---|---|---|
| Slips within the first day | Oily or conditioned roots | Clean and dry hair, then add texture |
| Slips during workouts | Too much sweat or slick hair | Use a texture spray and secure hair before exercise |
| Loose after a few weeks | Product buildup or hair growth | Clarify, reduce root products, get a stylist check |
| Only some attachments slip | Uneven placement or loose clips | Reposition or re-tighten those specific attachments |
| Slips at night | Smooth pillow or loose braid | Sleep on a satin pillowcase and secure hair gently |
Every fix should be gentle. Force can damage both your natural hair and the attachments. For a practical guide to securing hair accessories that hold, see how to keep hair ties from slipping.
Your Maintenance Checklist and When to See a Stylist
Use this checklist to keep your extensions secure between installs:
- Wash with a clarifying shampoo, then dry completely
- Keep conditioner and oils off the roots
- Use a texture spray before wearing extensions
- Brush gently from the ends upward
- Check clips and beads each week for looseness
- Sleep on a smooth pillowcase with hair loosely secured
See a stylist if attachments feel loose, if beads shift, or if you notice any tugging or damage to your natural hair. A professional can re-tighten, reposition, or replace attachments before a small problem becomes a lost piece.
Pairing a good hair tie with the steps above can help keep your style in place all day. To protect your natural hair from damage that could loosen extensions, see steps to prevent hair breakage from ties.
Frequently Asked Questions
Why do my hair extensions keep slipping out?
Most slipping comes from oils, conditioner, or heavy product near the roots, which make hair too slick to hold the attachment. Fine or very straight hair also has less natural grip. Check whether the attachment is placed too low, too close to the scalp, or on hair that was not fully dry. Clean, dry roots with a light texture spray usually solve the problem. If the extension still slides, the attachment point may need to be moved or reinstalled by a stylist.
How do I keep clip-in extensions from slipping in fine hair?
Start with clean, completely dry hair and apply a dry texture spray or root powder at the clip line for grip. Section a thin strip of your natural hair at the attachment point, then place each clip close to the root with the teeth gripping your hair, not the extension wefts alone. Avoid placing clips over areas with a lot of product. Wearing a loose braid or ponytail during the day adds tension and reduces movement.
Is it normal for hair extensions to fall out after two weeks?
Some shedding is expected as extensions settle, but repeated slipping within two weeks usually points to an installation or product issue rather than normal wear. Check whether roots were oily, whether conditioner touched the attachment area, and whether the bond or bead was placed too close to the scalp. Reinstalling with clean hair and proper grip typically prevents recurrence. Persistent problems are worth raising with your stylist.
What holds hair extensions in place?
Extensions stay in place through the attachment itself: clips, tape bonds, or micro-beads that clamp or bind to your natural hair. Grip comes from clean, dry hair, texture added at the root, and correct placement away from heavy oils. Using extension-safe products and avoiding conditioner at the attachment zone keeps the hold secure. Regular checks and timely reinstallation help the attachment last.
